
Start with the basics
Before you touch the printer’s settings, make sure your home network is ready. Most connection failures happen because the router is hiding the signal or the printer is looking for a network that doesn’t exist yet. Verify that your Wi-Fi is broadcasting and that you know the exact password. If you use a dual-band router, note whether you are connecting to the 2.4 GHz or 5 GHz band; many older printers only support 2.4 GHz.
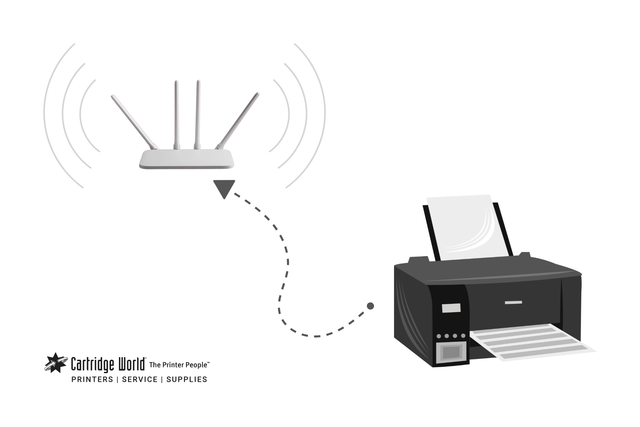
Clear the path for the printer. Move it within range of your router, ideally in the same room or within a few walls. If the printer has a display, check that it is not stuck on a previous setup screen. Power cycle both the router and the printer to clear any temporary network glitches. This simple reset often resolves connectivity issues that seem complex.
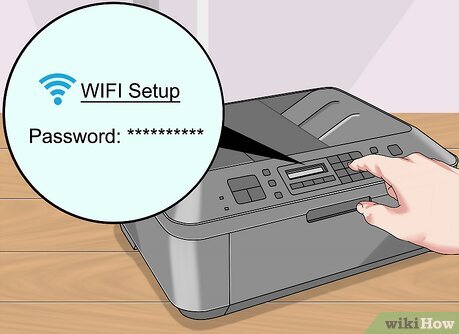
Have your network credentials handy. You will need the Wi-Fi name (SSID) and the password. If you use a WPA3 encryption standard, ensure your printer supports it; some older models require WPA2. Keep a pen and paper nearby to write down the printer’s IP address once connected, which helps if you need to reconnect later.
Follow the process
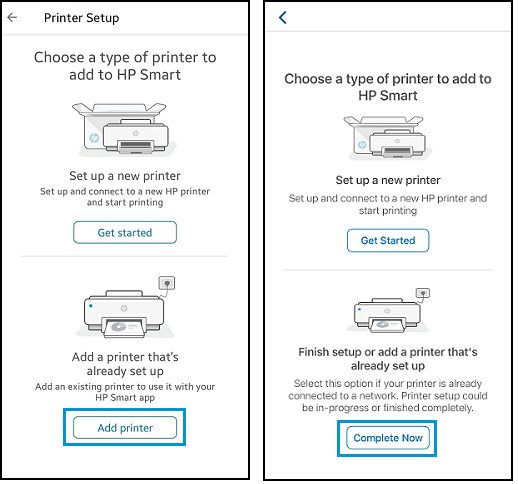
Most wireless printer issues stem from skipped steps or incorrect network credentials. Rather than calling support, you can resolve the connection yourself by following a strict sequence. This method works for the majority of HP, Canon, and Epson models.
The goal is to move the printer from its default state into your specific Wi-Fi network. We will use the printer’s built-in Wireless Setup Wizard, which is the most reliable method for modern devices. If your printer lacks a screen, we will cover the button-based alternative.

Before starting, ensure your printer is powered on and has paper loaded. Place the printer within range of your Wi-Fi router. If the printer was previously connected to a different network, reset its network settings to factory defaults. This clears old credentials that might block the new connection.
On the printer’s control panel, navigate to the Setup or Settings menu. Look for a Network or Wireless option. Select Wireless Setup Wizard. If your printer has no screen, press and hold the Wi-Fi button for three to five seconds until the light starts blinking. This indicates the printer is ready to pair.
The printer will scan for available networks. From the list, select your home Wi-Fi name (SSID). Be careful to choose the correct band. Most printers work best on 2.4 GHz networks. If you have a 5 GHz network, ensure your printer supports it, or switch your router to broadcast a 2.4 GHz signal temporarily.
Using the keypad or on-screen keyboard, enter your Wi-Fi password. Passwords are case-sensitive. Double-check each character before confirming. If you make a mistake, the printer will reject the connection, and you will need to restart the wizard. Correct errors immediately to avoid unnecessary delays.
Once the password is accepted, the printer will attempt to join the network. The Wi-Fi light should stop blinking and stay solid. Wait for the confirmation message on the screen. Print a network configuration page to verify the IP address. Finally, try printing a test page from your computer or phone to ensure data is flowing correctly.
If the wizard fails, check for interference. Move the printer closer to the router. Ensure your router’s security settings (WPA2 or WPA3) are compatible with the printer. Some older printers do not support WPA3 encryption.
Avoid these mistakes
Most wireless printer failures happen before the hardware even attempts to join the network. You likely won’t need to call support if you skip these common setup errors.
First, ensure your printer is within range of the router. Wireless signals weaken through walls and floors. If the printer is in a distant garage or basement, the connection will drop during setup. Move it to the same room as the router for the initial configuration.
Second, check your Wi-Fi band. Many modern routers broadcast two networks: 2.4GHz and 5GHz. Older or budget printers often only support 2.4GHz. If you select the 5GHz network during setup, the printer will fail to connect. Verify your printer’s specifications in the manual before proceeding.
Third, avoid using special characters in your Wi-Fi password. Some printer firmware versions struggle with symbols like @, #, or &. Stick to alphanumeric characters (letters and numbers) to prevent authentication errors. If your password is complex, consider creating a temporary guest network with a simple password just for the setup process.
Finally, do not interrupt the connection process. Once you start the wireless setup wizard, the printer searches for the network and transmits the credentials. This can take several minutes. If you turn off the printer or restart the router mid-process, the setup will fail. Wait for the confirmation light or on-screen message before moving on.
Common questions
Connecting a wireless printer to your home network often fails because of simple configuration mismatches rather than hardware defects. Before calling support, verify these common hurdles. Most issues resolve with a quick check of your router settings or a standard restart.
No comments yet. Be the first to share your thoughts!